Free delivery on the 10-pack

Bag 0

Fitting guide · ten minutes

How to apply tempered glass and skins without bubbles.

Glass: clean the panel, line it up by its cut-outs, drop it from the centre, press the edges. Skins go on dry: line up the camera cut-out and press from the middle out. The cut does the positioning — your job is dust.

Tempered glass Skins

  1. 01 Clean the panel
  2. 02 Line it up
  3. 03 Drop the glass
  4. 04 Press the edges
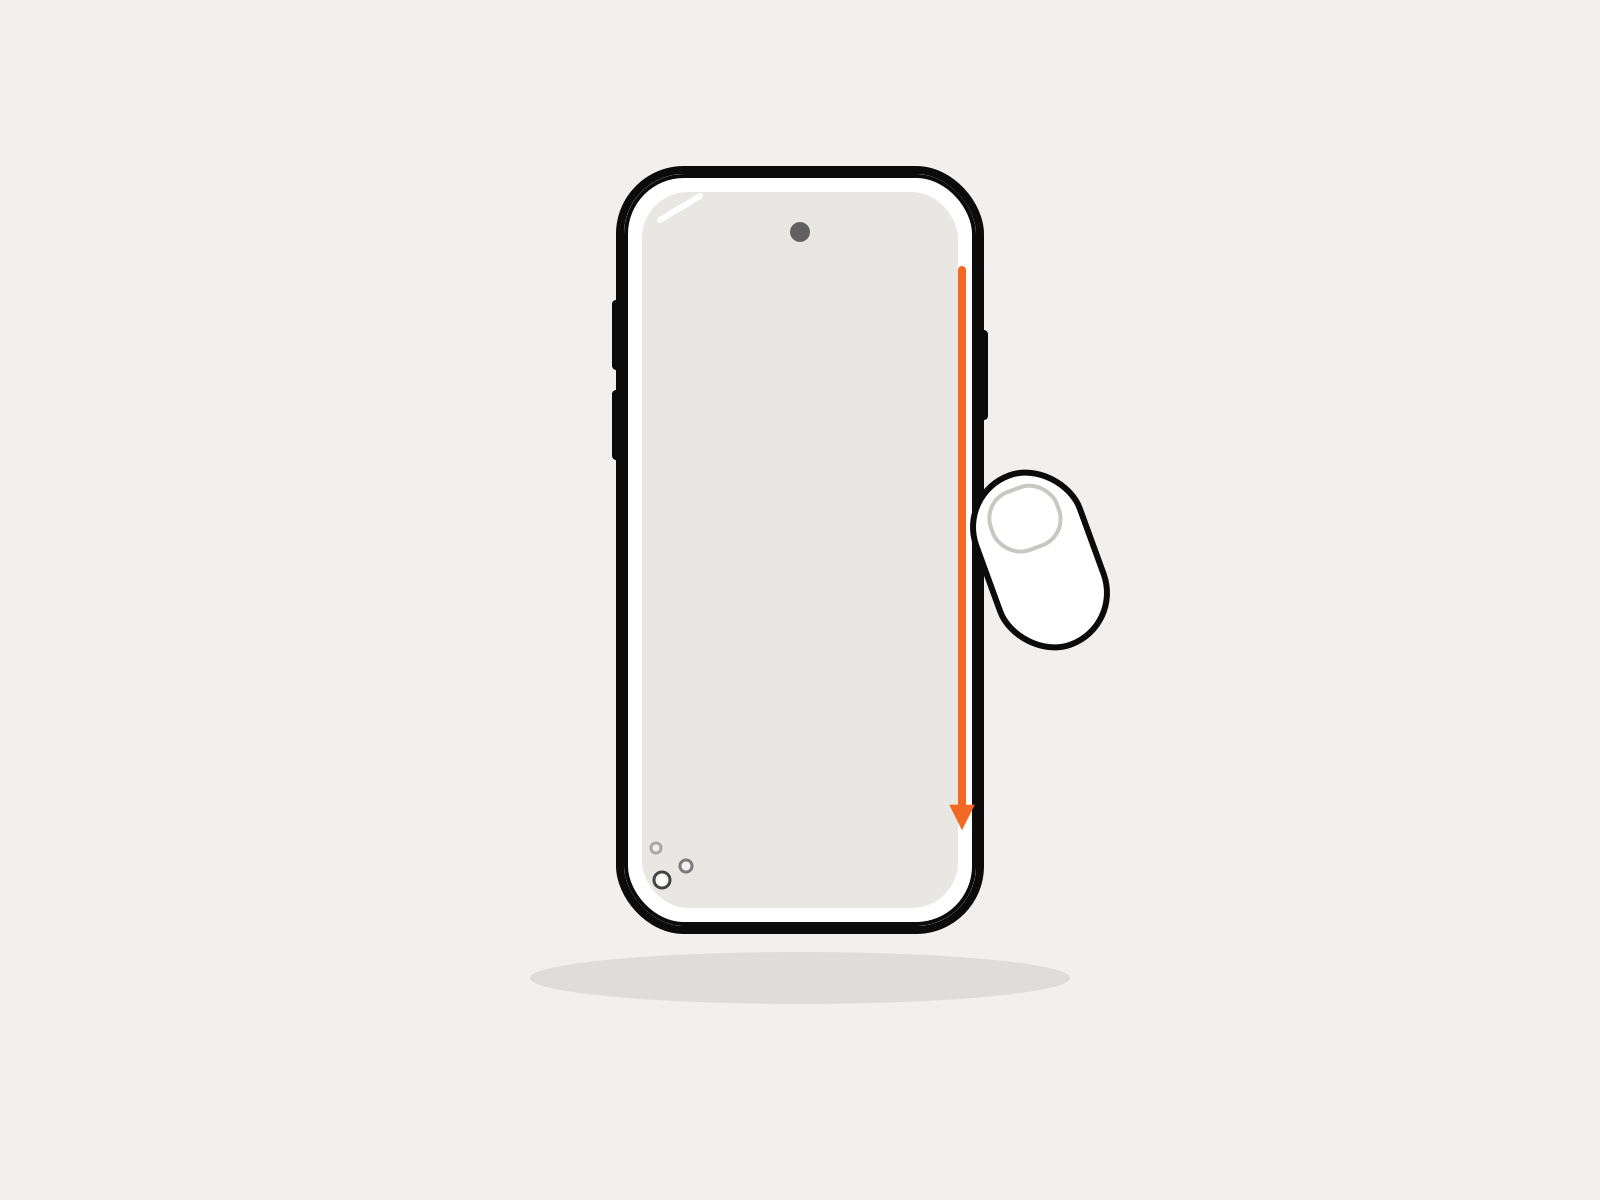
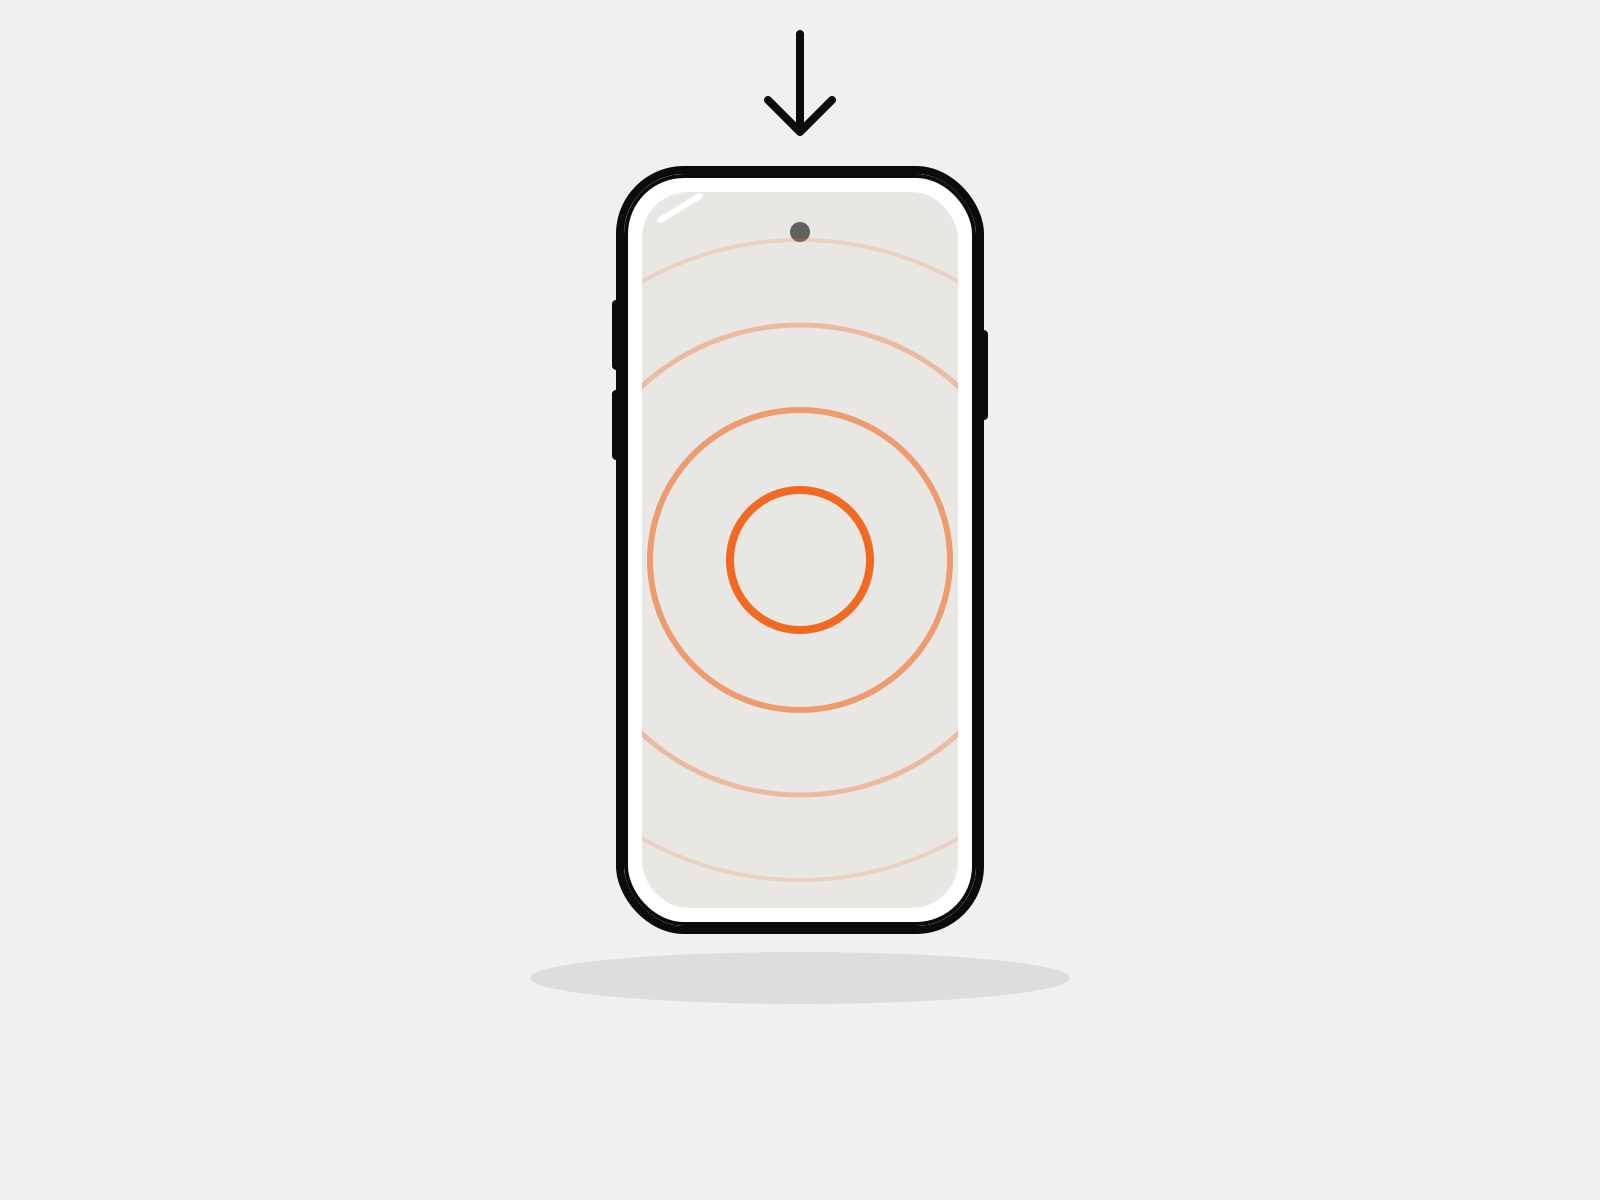
Tempered glass settling onto a phone screen from the centre

You will need · tempered glass

1×

Glass sheet, cut for your phone

1×

Lint-free cloth

1×

Strip of clear tape, for dust

1×

A flat table

Only the glass comes in the pack — there is no alignment frame or cleaning kit. The rest is in most homes: no water, no spray, no card.

You will need · a skin

1×

Skin, cut for your phone

1×

Dry, lint-free cloth

1×

A flat table

Only the skins come in the pack. They go on dry — no water, no spray.

Tempered glass

Four steps, ten minutes.

Clean the panel

Step 01 of 04

Clean the panel

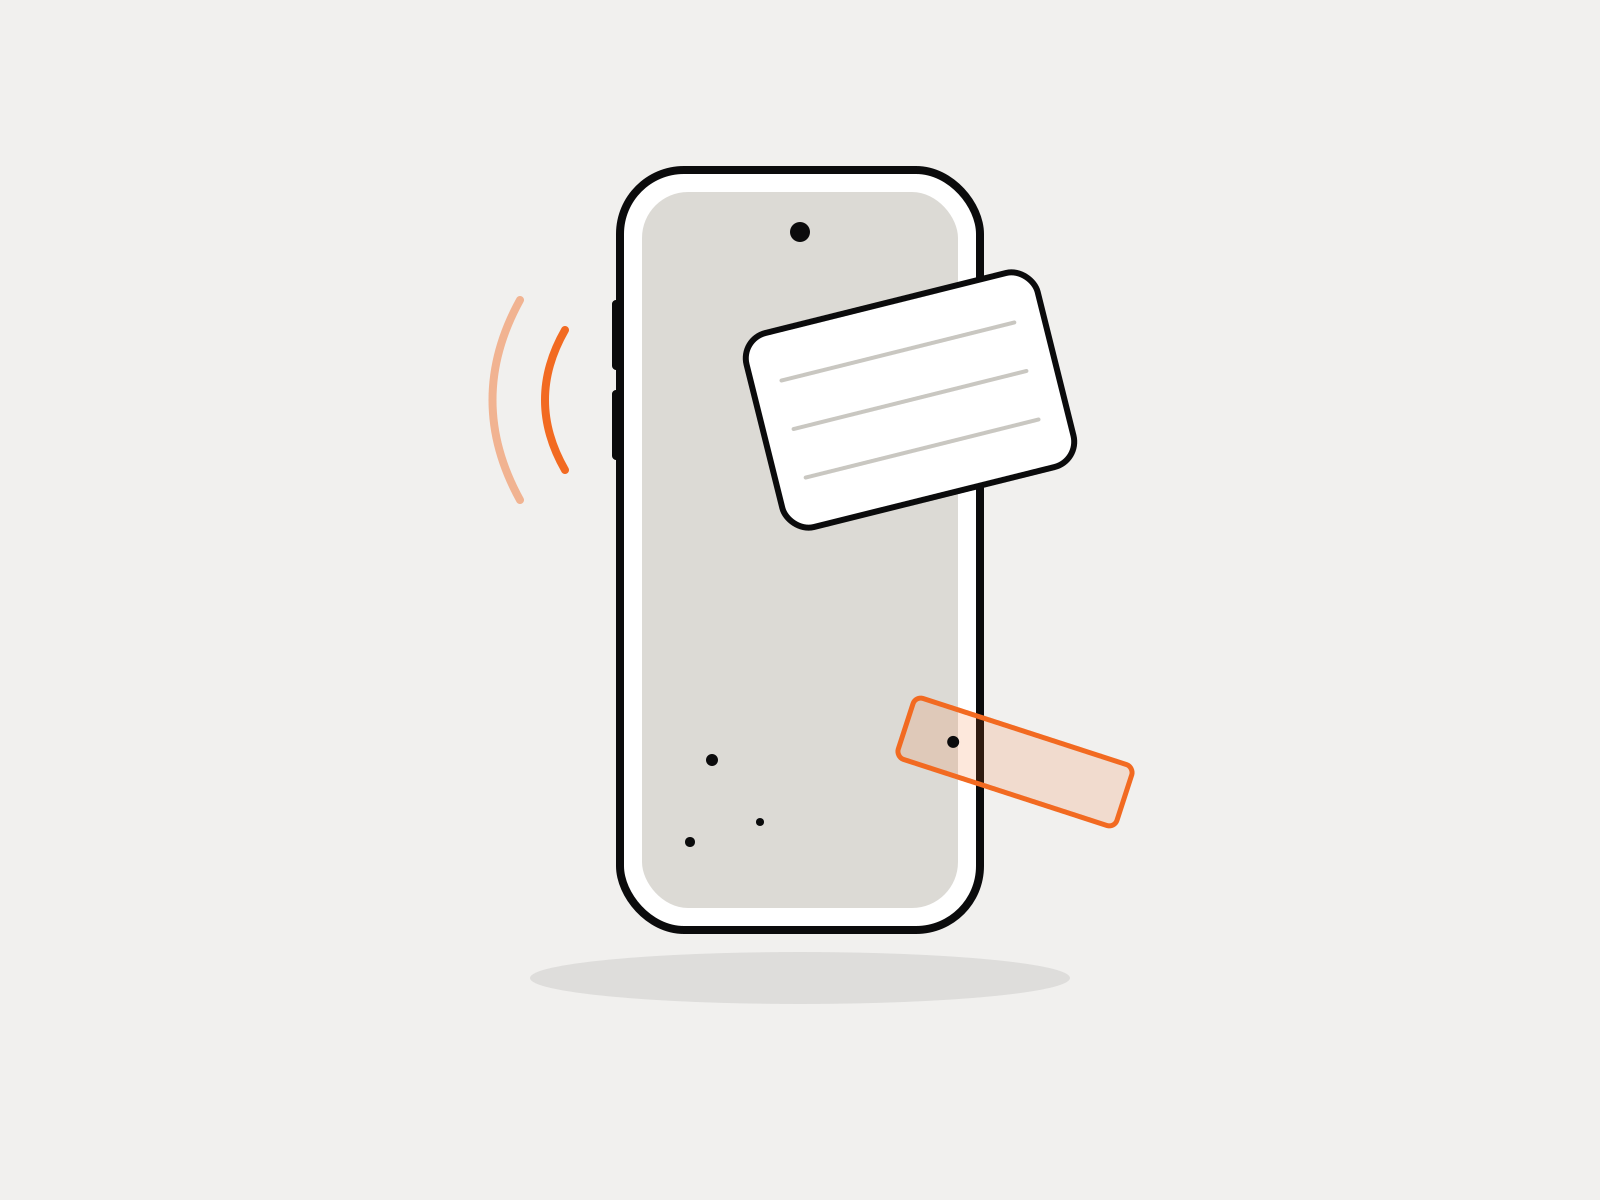
Wipe the whole screen with a clean, lint-free cloth — a drop of screen cleaner or rubbing alcohol on the cloth takes the oil off. Hold the phone up to a window and look across the glass: any speck you can see is a bubble you will not be able to press out. Lift it with a strip of clear tape — dab, do not drag.

Tip: Work indoors with the fan off. Moving air is what carries dust back onto a clean panel.
Line it up

Step 02 of 04

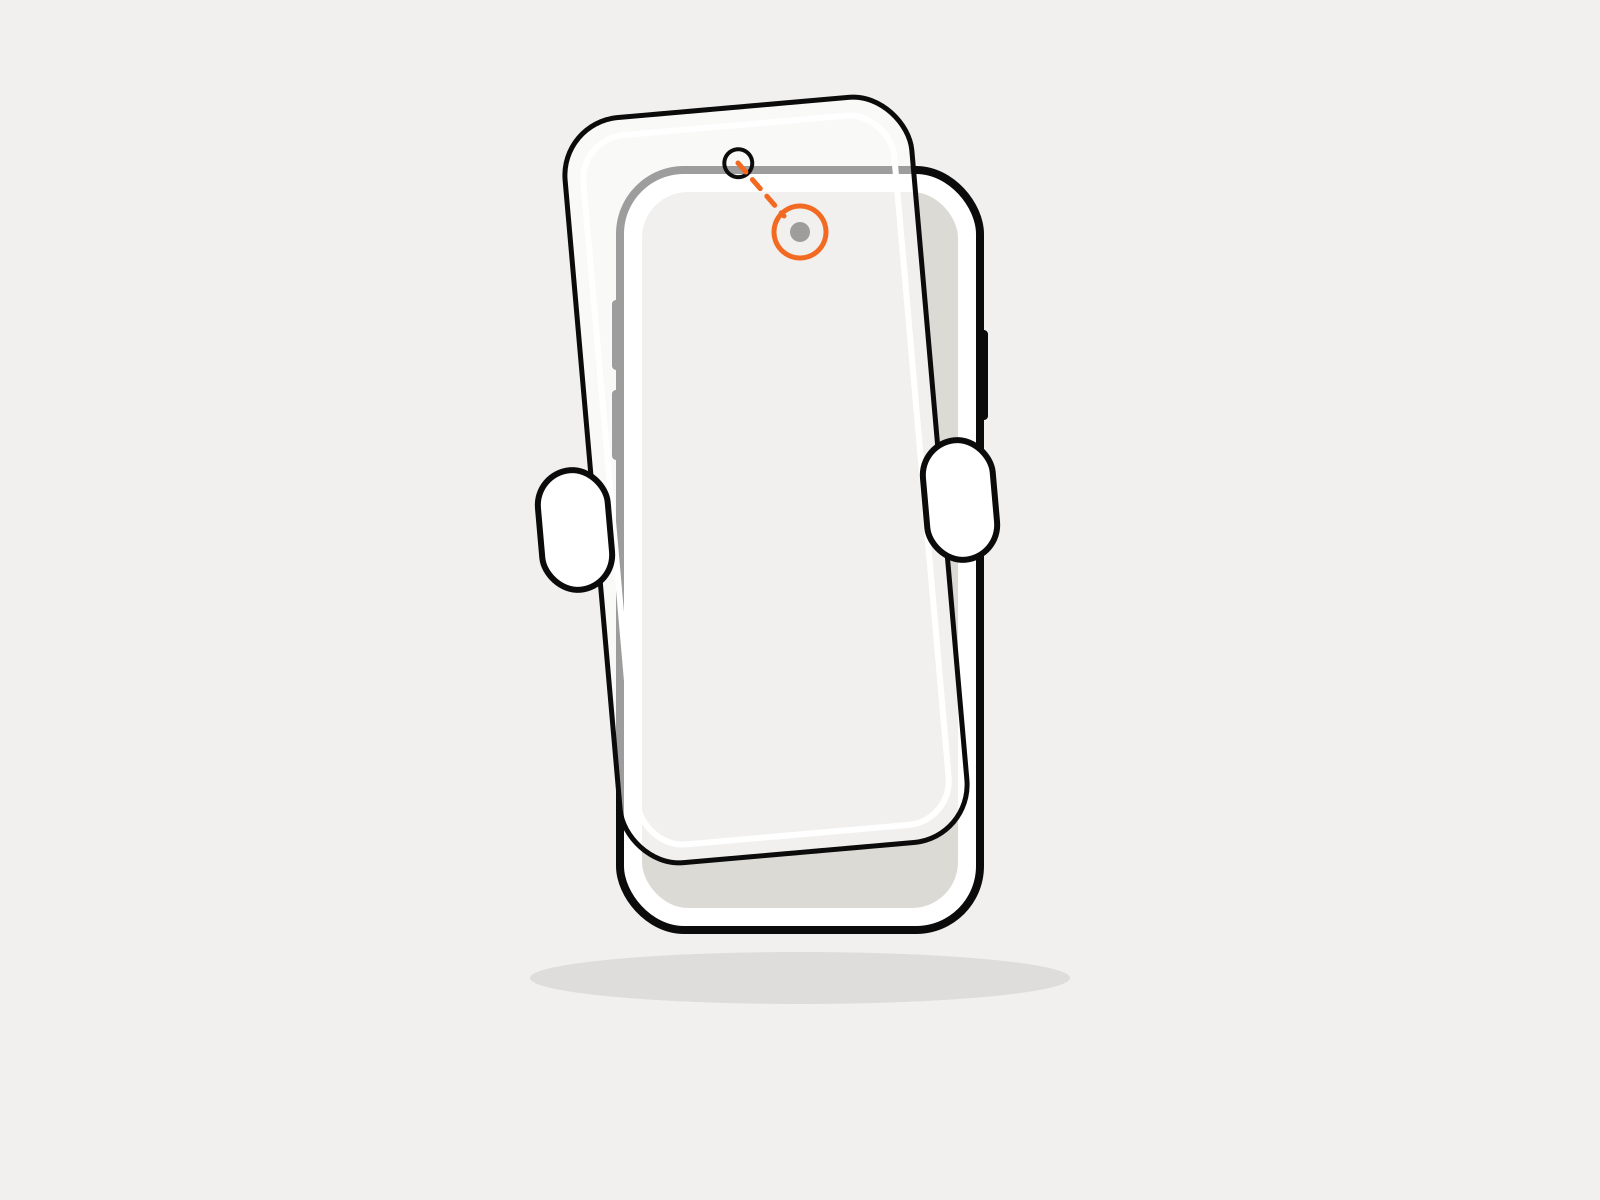
Line it up

Peel the backing film off the adhesive side and hold the sheet by its edges, just above the screen. Line up the cut-out at the top with the earpiece and camera first, then check the gap is even down both sides before anything touches.

Tip: Keep the phone flat on a table and look straight down. Lining up at an angle is how the glass lands a millimetre off.

Drop the glass

Step 03 of 04

Drop the glass

Lower the sheet onto the centre of the panel and let go. The adhesive wets outward from the middle on its own — you should see it spread in about five seconds.

Tip: Do not press the middle. Pressing traps air at the edges instead of pushing it out.

Press the edges

Step 04 of 04

Press the edges

Run a thumb, through the cloth, along each border once. Small bubbles at the perimeter clear on their own within 24 hours; a bubble in the middle means a speck of dust underneath, and the glass has to come off.

Tip: A bubble that will not go is a dust speck. Lift the sheet with a card, tape the speck away, drop it again.

Skins · dry, peel and press

Four steps, five minutes.

These are for the back skin. The front skin goes on the same way from the top: line up the earpiece and front-camera cut-out first, then press from the middle out.

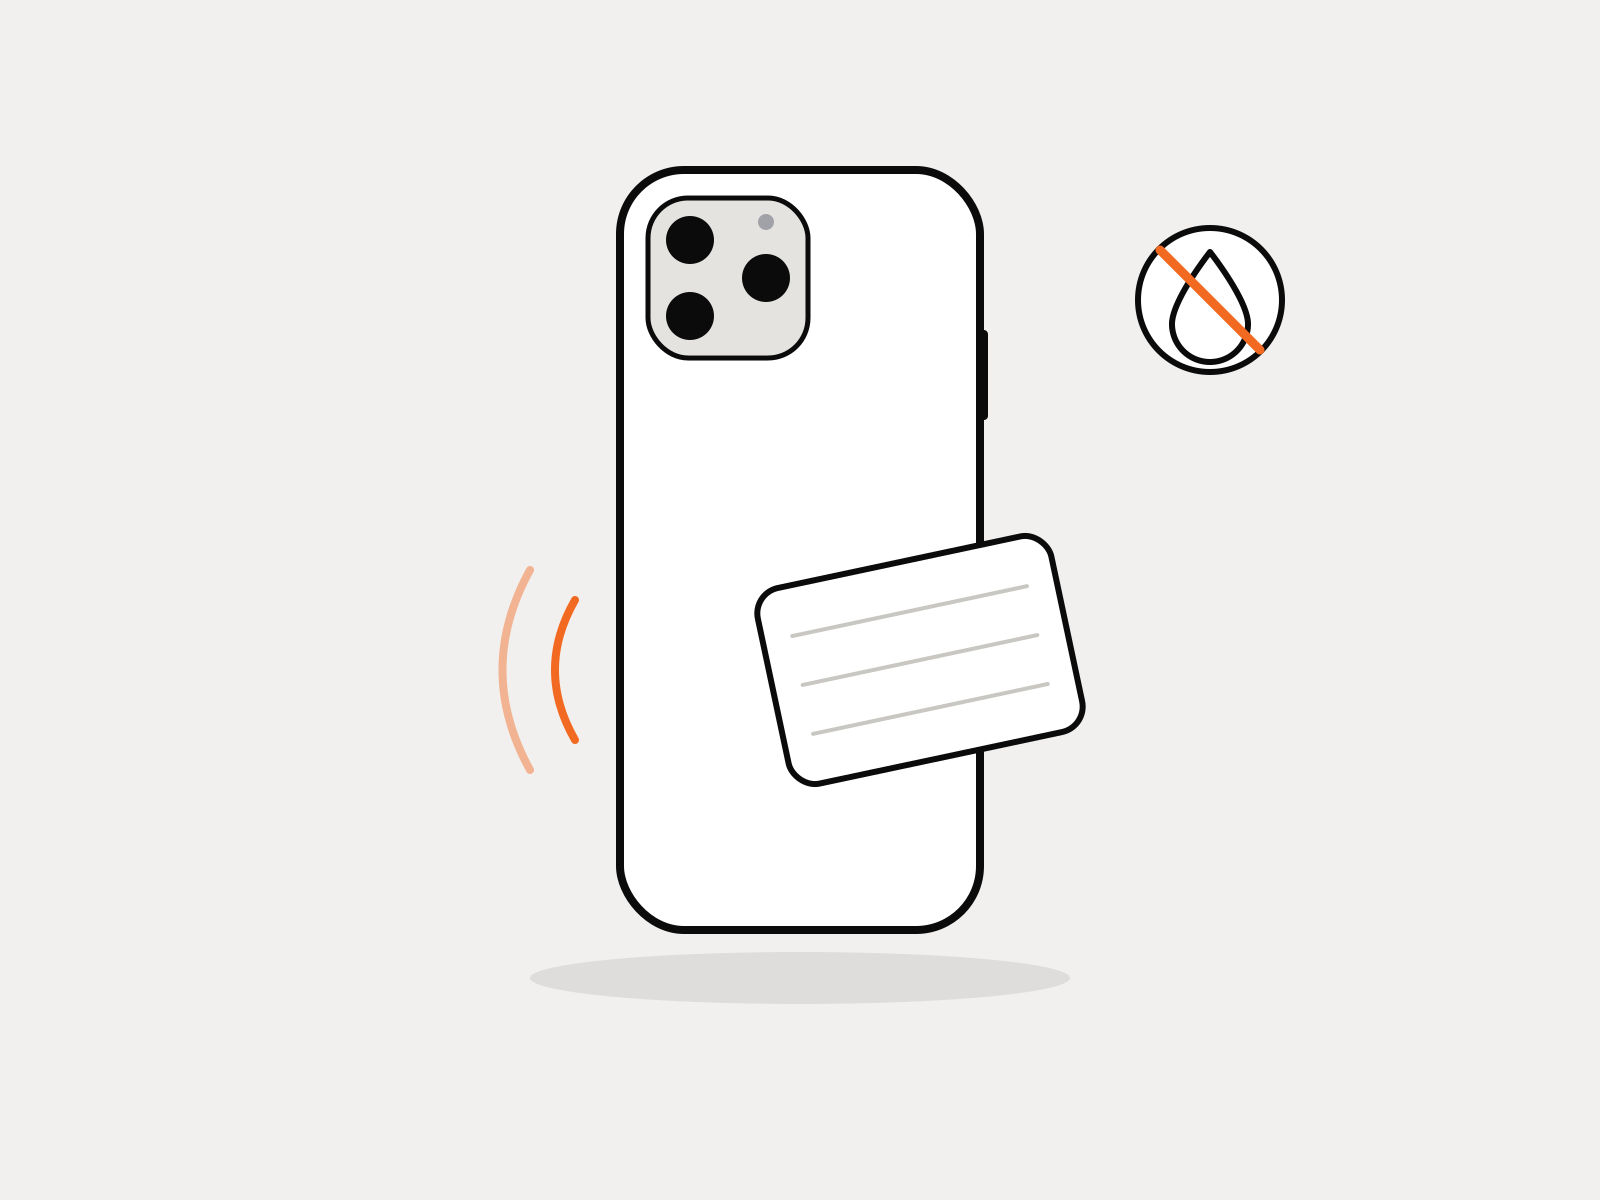
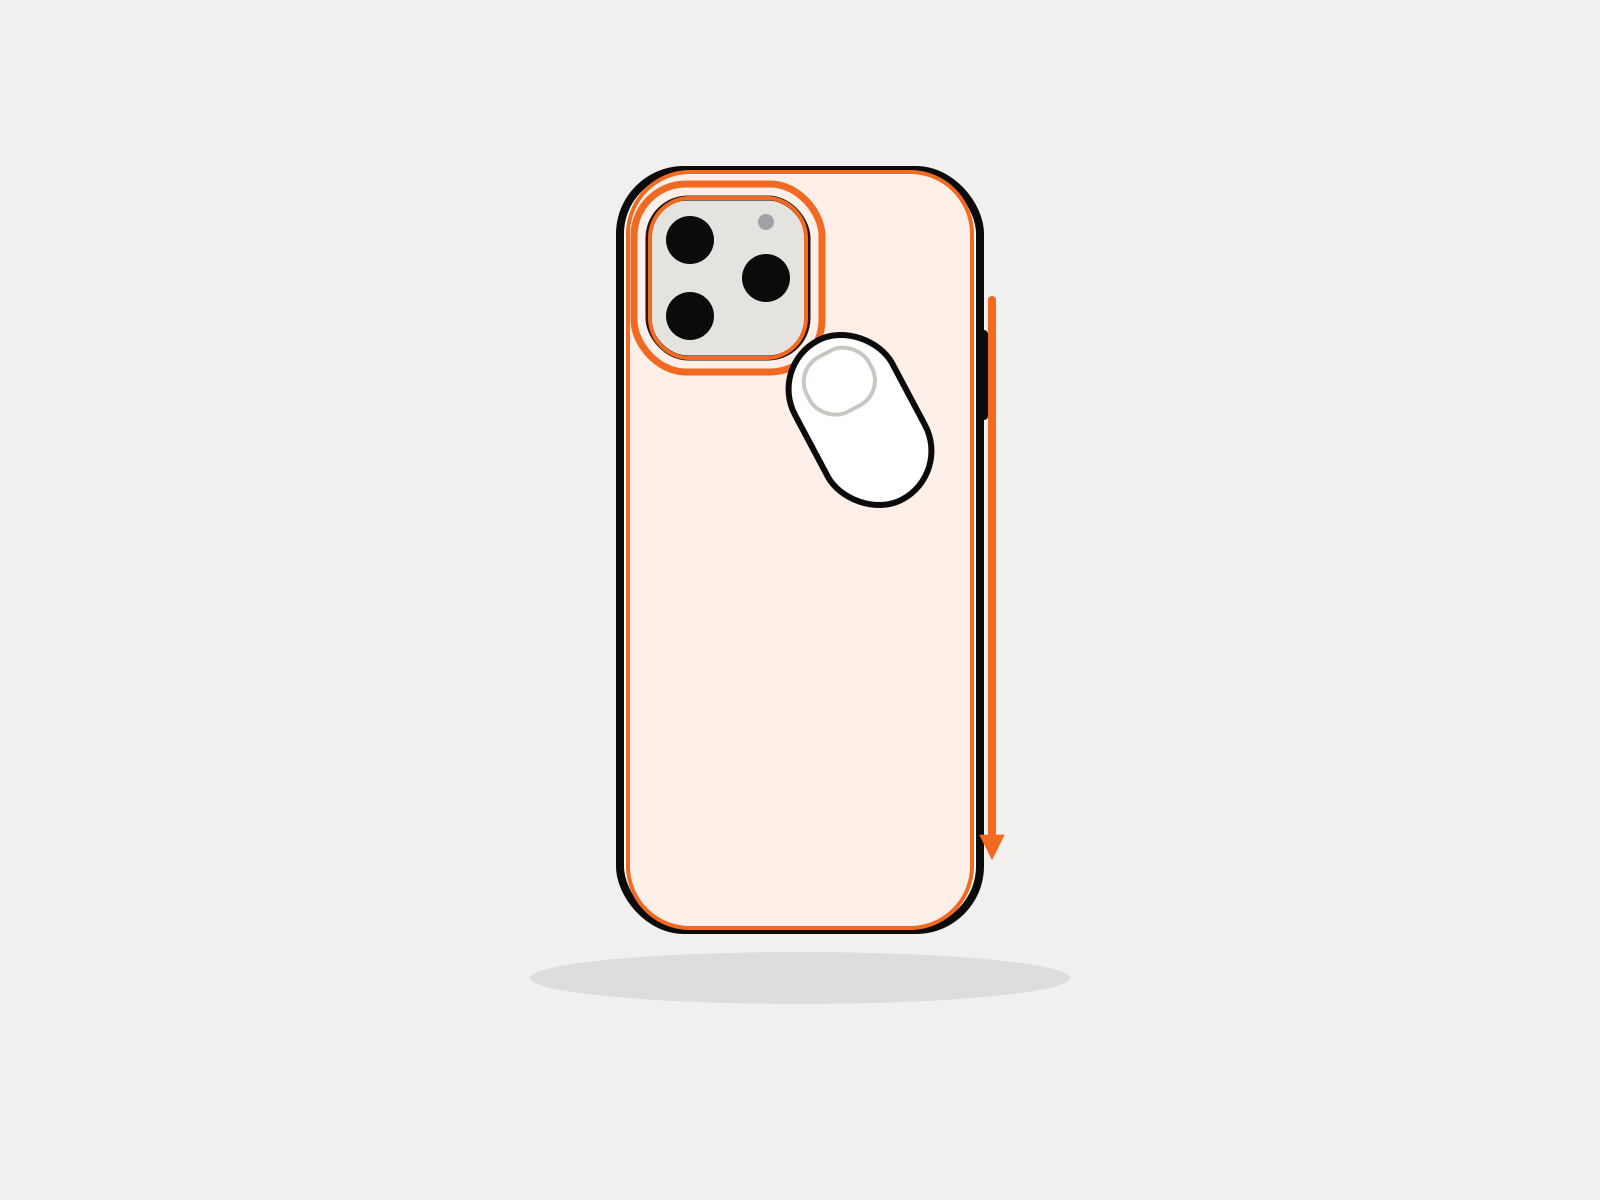
A dry cloth wiping the back of the phone

Step 01 of 04

Clean and dry the back

Take the phone out of its case and wipe the back and sides with a dry, lint-free cloth until there is no dust and no oil left. Skins go on dry — no water, no spray.

Tip: Work on a clean, flat table. A speck under a Clear skin shows; under a Matte one you will still feel it.

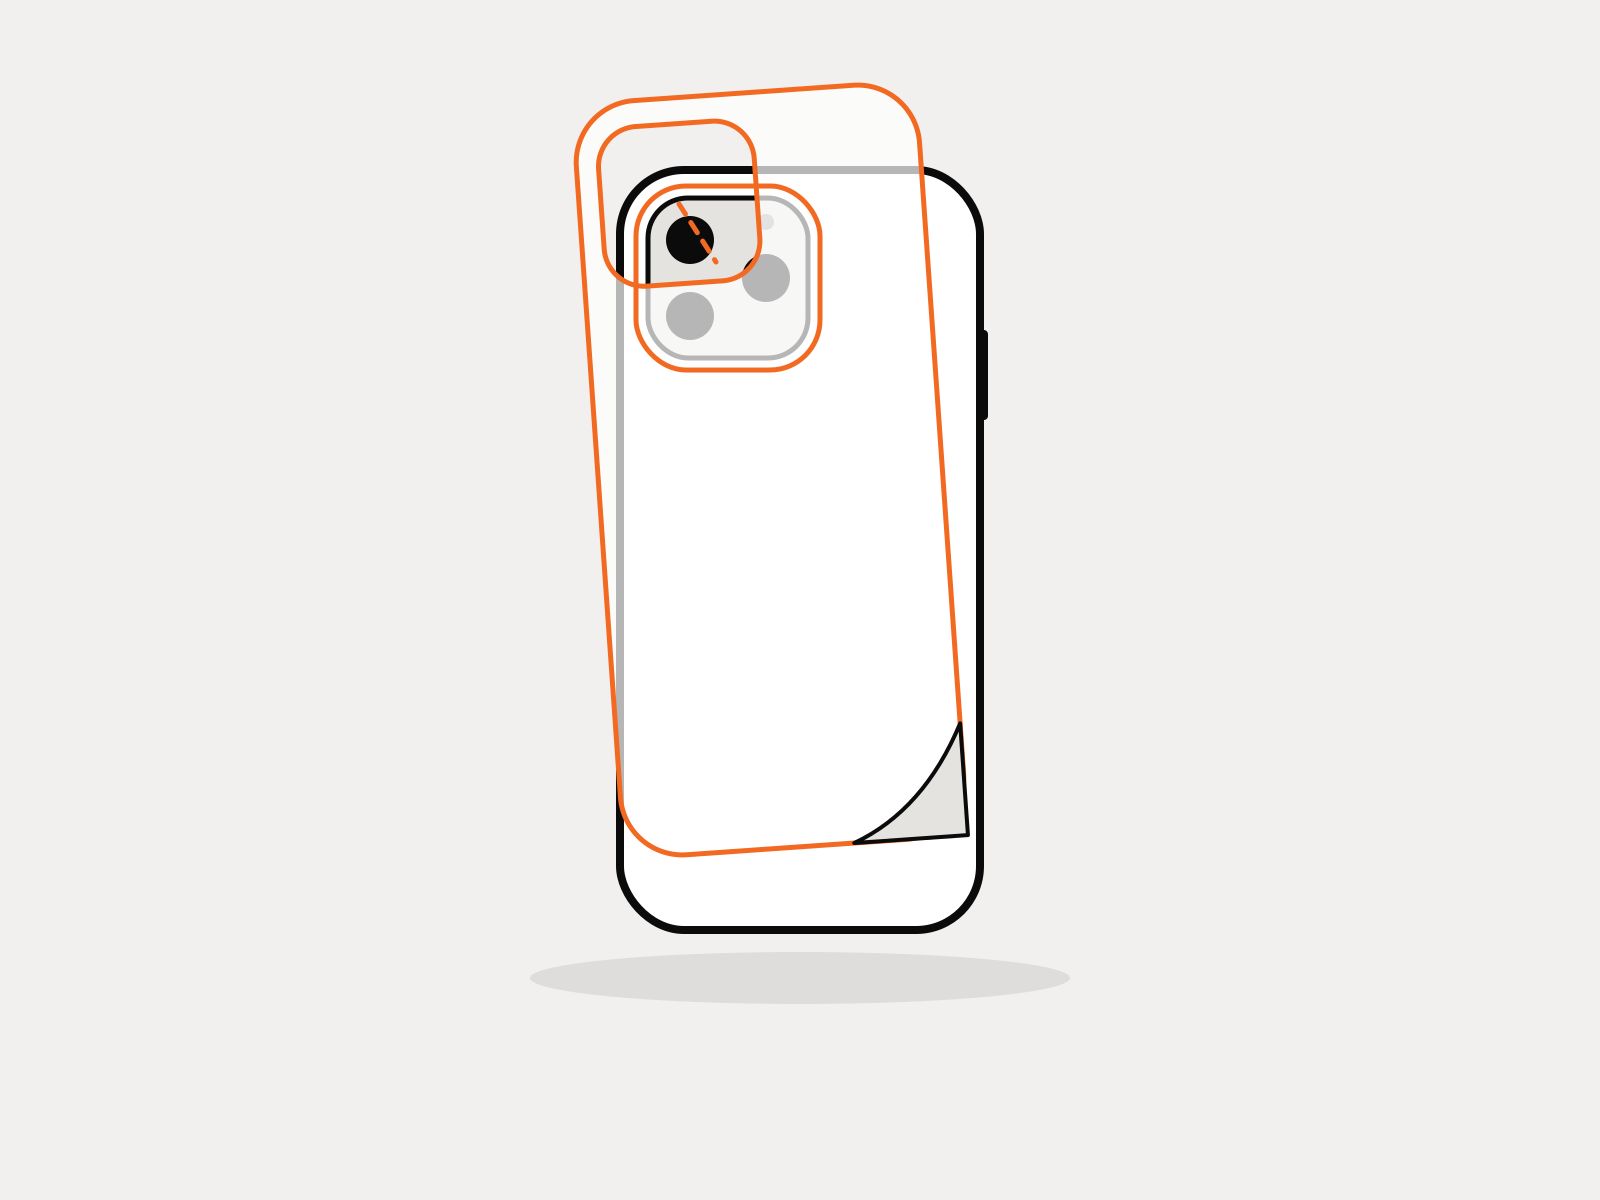
The skin held over the phone, its camera cut-out lined up first

Step 02 of 04

Peel and line up the camera cut-out

Peel the skin off its backing by a corner. Line its camera cut-out up with the camera first, then let the rest of the skin settle over the back.

Tip: Hold it by the edges. A fingerprint on the adhesive side stays under the skin.

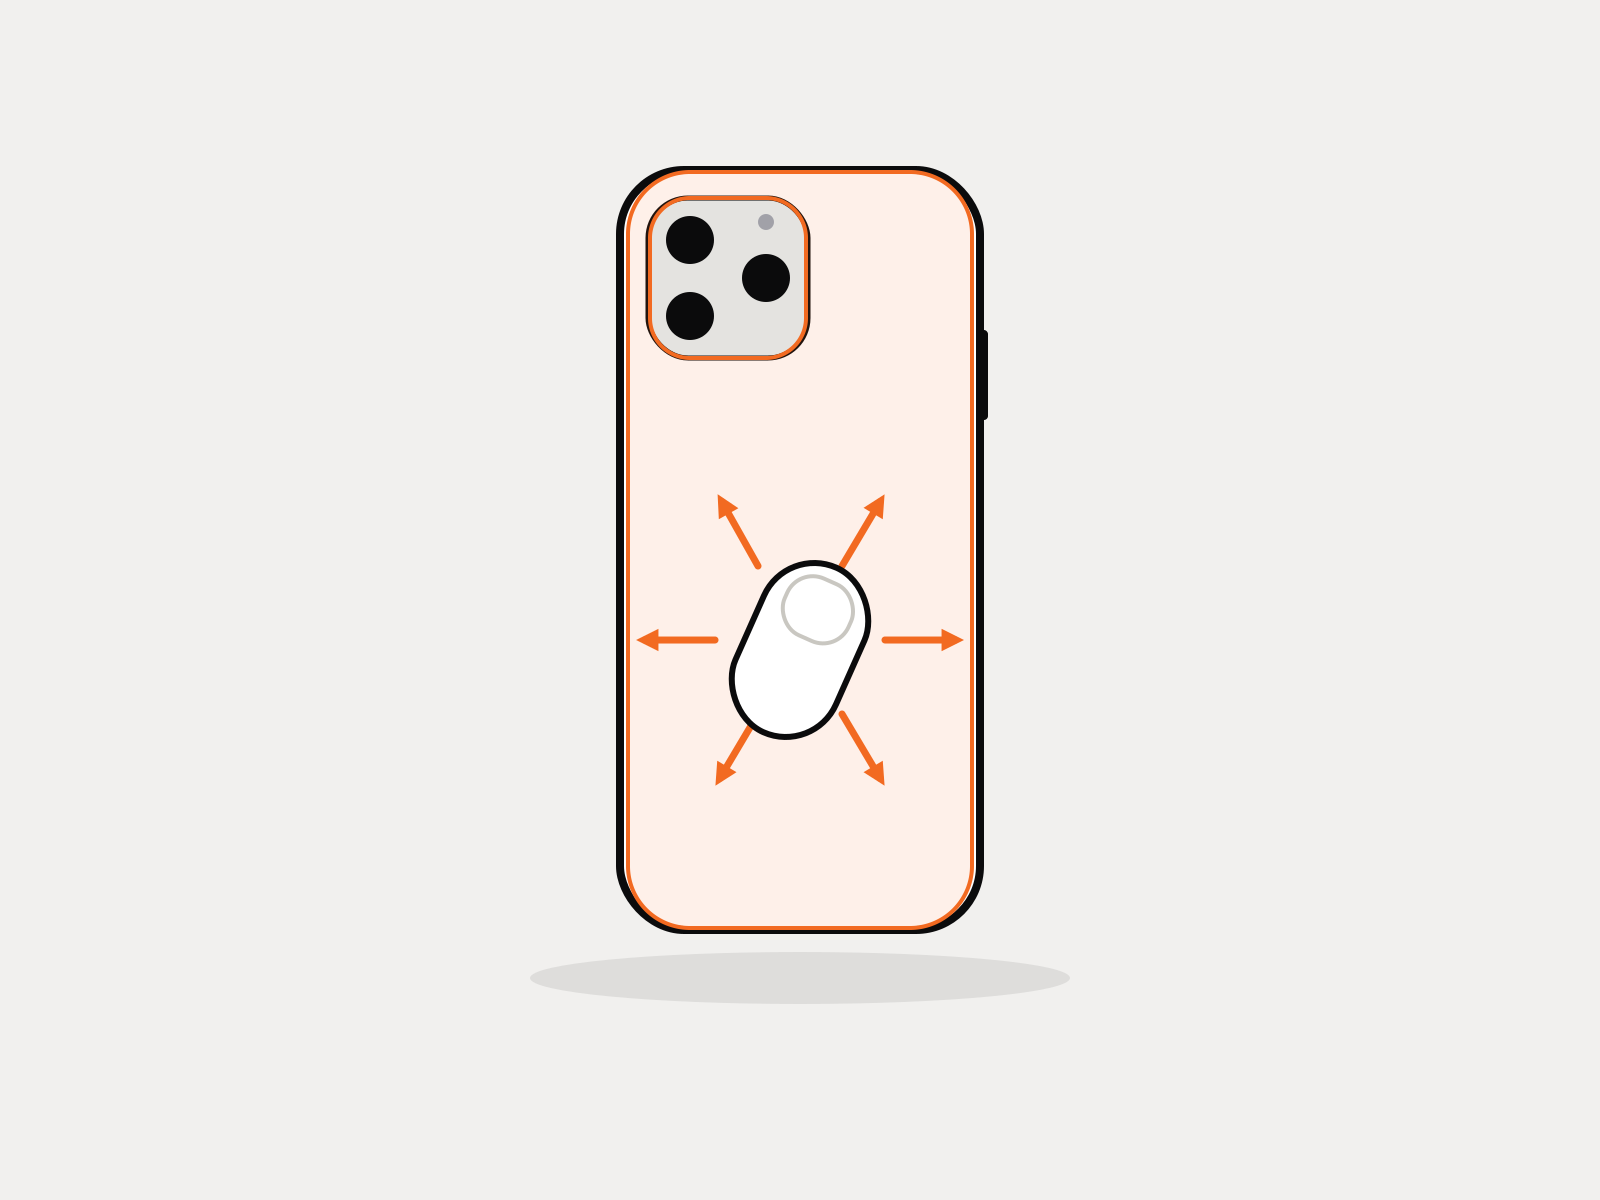
A thumb pressing the skin from the middle, pushing the air out to the edges

Step 03 of 04

Press from the middle out

With the cut-out in place, press the centre of the skin and smooth outward to each edge, pushing the air out ahead of your thumb.

Tip: Lay it down, don’t pull it. Stretching the skin moves its cut-outs out of line.

A thumb pressing around the camera cut-out and along the edge

Step 04 of 04

Press the edges and cut-outs

Run your thumb around the camera cut-out and along every edge, pressing firmly so the skin sits flat right to its border.

Tip: Push a small bubble towards the nearest edge — never pierce it.

What goes wrong

Six ways a fit fails, and the fix.

Fitting it in your hand
The glass lands tilted. Phone flat on a table, look straight down, then drop.
Pressing the centre first
Air gets pushed to the edges and sealed in. Let the adhesive spread itself.
Skipping the dust check
One hair is one permanent bubble. A strip of tape takes three seconds.
Peeling the top film off first
The adhesive side is the one under the numbered tab. The other film comes off last.
Wetting a skin
Skins go on dry. Water or spray under the film stops it gripping.
Pulling the skin to fit
A stretched skin moves its cut-outs out of line. Lay it down from the camera and press it out.

Questions

Asked at the counter,
answered here.

How long does it take to apply a tempered glass screen protector?

About ten minutes, most of it cleaning. Lining the sheet up by its cut-outs takes a minute; the drop itself takes seconds.

Can I re-apply the glass if it goes on wrong?

Once, carefully. Lift it from a corner with a card, lift the dust off with tape and drop it again. The adhesive survives one lift; after that, use the next sheet in the pack — which is what the pack is for.

Why is there a bubble I can’t push out?

Something is under the glass. A bubble that moves is air and will press out; one that stays put is dust. Lift, tape the speck, re-drop.

How do I apply a phone skin?

Dry, with nothing but a cloth. Clean the back, peel the skin, line up the camera cut-out first, press from the middle out, then press the edges and around the cut-outs. The front skin goes on the same way, lined up from the top. A skin pack holds the skins only.

Do I need to re-register my fingerprint after fitting?

Yes, on phones with an under-display reader. The sensor calibrates to what it reads through, so delete and re-add the print once the glass is on.

Will the protector fit inside my case?

Yes. Every sheet is cut to the active display area, not the whole front face, so the case lip stays clear.

Cut for one phone

Glass cut for your exact phone.

Find your phone →